Blog
How to Test New LiFePO4 Cells: A Step-by-Step Guide
2025-07-09 | Eric
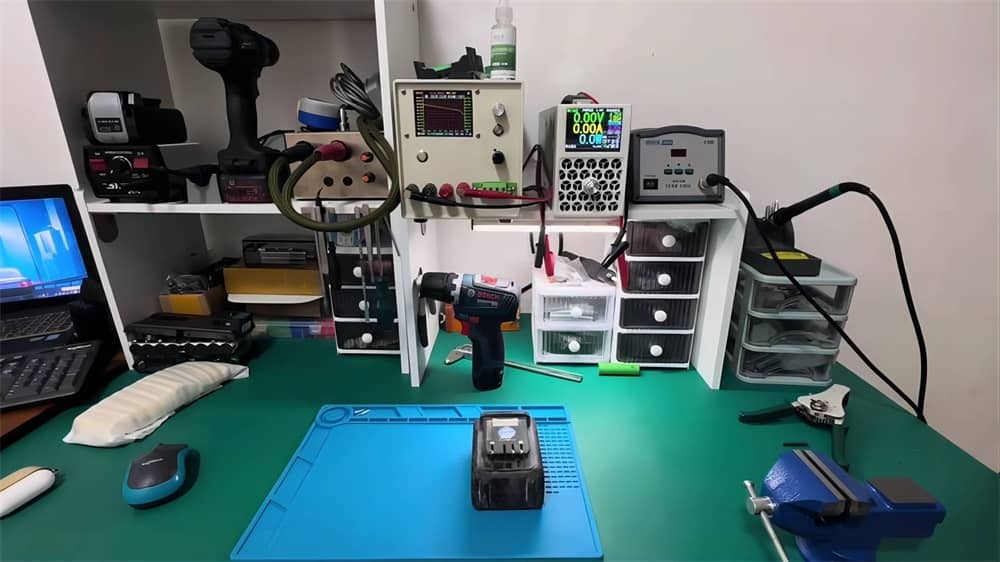
Just got your hands on some brand-new LiFePO4 cells? That’s exciting news! These lithium iron phosphate batteries are well-loved for their long lifespan, impressive safety record, and steady power output. But before you plug them into your system and call it a day, hold on a second—it’s crucial to test each cell properly.
Why? Because even high-quality batteries can show up with manufacturing defects or inconsistencies. A few quick checks now can save you from major headaches later.
Let’s walk through how to test your new LiFePO4 cells step-by-step—and what tools you’ll need to do it right.
Step 1: Check the Voltage
Your first move? Measure the voltage of each cell right out of the box.
How to Do It:
Grab a multimeter—a handy tool that reads voltage, current, and resistance. Set it to DC voltage, and make sure nothing is connected to the battery. Touch the red (positive) probe to the battery’s positive terminal and the black (negative) probe to the negative terminal.
✅ What you’re looking for:
The reading should fall within the manufacturer’s recommended range—typically 3.2V to 3.3V for a fresh, unused LiFePO4 cell.
⚠️ Red flag:
If a cell reads significantly lower (say, under 3.0V), it may be damaged or undercharged—something you’ll want to report or return.
Step 2: Test the Capacity
Once voltage checks out, the next step is to see how much energy each cell can actually hold. This tells you if the battery is performing up to spec.
Tool You’ll Need:
A battery capacity tester (also called an electronic load tester or battery analyzer). This tool discharges the battery at a controlled rate and tracks how much energy it delivers before hitting its cut-off voltage.
How to Do It:
- Fully charge the battery.
- Set the discharge rate (usually 0.2C or 0.5C for LiFePO4).
- Start the test and let it run until the tester stops automatically.
- Check the reading in Ah (amp-hours).
✅ Expected result:
Your cell’s capacity should be close to its rated value—for example, a 100Ah cell should deliver 95–100Ah under normal test conditions.
⚠️ What if it doesn’t?
If it’s far below the rating (say, under 90%), consider contacting the supplier. It could be a sign of aging stock or a faulty batch.
Step 3: Inspect for Physical Defects
This part’s often overlooked, but super important. Before you start using the cells, give them a visual once-over.
What to Look For:
- Cracks, bulges, or dents in the casing
- Leaking fluid or white powder (signs of electrolyte leakage)
- Corrosion or loose terminals
These signs usually point to mechanical damage or poor quality control. If you spot anything suspicious, don’t risk it—report the issue right away.
Tools You’ll Need
Let’s sum up the tools you’ll need to safely and accurately test your new LiFePO4 cells:
| Tool | Purpose |
|---|---|
| Multimeter | For checking voltage |
| Battery Capacity Tester | To measure energy storage and discharge performance |
| Safety Gear | Gloves, eye protection, and maybe a respirator if you’re in a tight space or handling large packs |
Bonus Tip: If you plan on testing multiple batteries, label each one during testing. This helps you track performance and spot patterns across the batch.
Conclusion
Testing your new LiFePO4 cells isn’t just a good idea—it’s a smart investment in your safety and your project’s long-term success. A few minutes of checking voltage, capacity, and condition can help you catch issues before they turn into failures.
So, take your time, use the right tools, and enjoy the peace of mind that comes from knowing your batteries are in top shape.
Popular Articles
Contact Details
Worktime :Monday to Friday 9am - 6pm (HKT)
WhatsApp/Wechat/Mobile :+8613645616165
Email : info@lifepo4cellstore.com